Before You Begin
This process assumes you have either;
o Received (or imported/scanned) a screen result to the Holding File, and have actioned it at which time it is saved to the patient's record.
o Imported/Scanned a screen result directly to the patient's record via one of the Correspondence tabs, saving it to the Results tab. Note that it is not a requirement that you save screens to the Results tab specifically - you can import/scan results to any of the Correspondence tabs. The following steps can be followed regardless which tab you have chosen.
The resulting screen record gets saved to the Results tab of the patient's Clinical Window. The following information describes how to copy it to the Cervical Screening tab.
To Copy Cervical Screening Results
1. Within the patient's record, select the Results tab.

2. Locate and right-click the screen result you wish to copy to the Cervical Screening tab.
3. Select Copy to Record Cervical Screening Result from the right-click menu. The Record Cervical Screening Result window appears, pre-populated with the result information. Modify as desired.
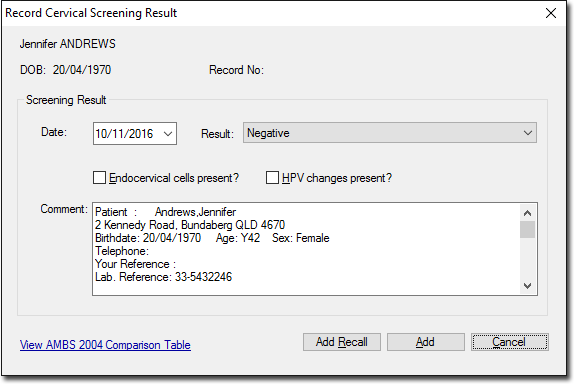
4. (optional) If you wish to generate a Recall notification for this patient, click Add Recall
5. Click Add to confirm and save the screen to the Cervical Screening tab.