1. After creating an invoice for IHC, within the New In Hospital Claiming (IHC) form, click  to submit the claim. The In Hospital Claiming (ECLIPSE) – Processing IHC window appears. If there is any validation errors, the client adaptor will display the claim error and the claim will not be submitted. If there is no claim error, the claim is submitted, and a Claim ID is generated.
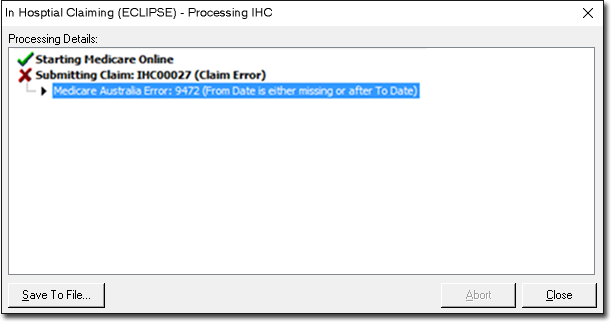
o Claim Error during submission: You can modify the data to rectify the error. In the example below, the ‘from’ date should be before the ‘to’ date, or must be entered. Once this is rectified, the claim can be submitted successfully and a Claim ID will be generated.
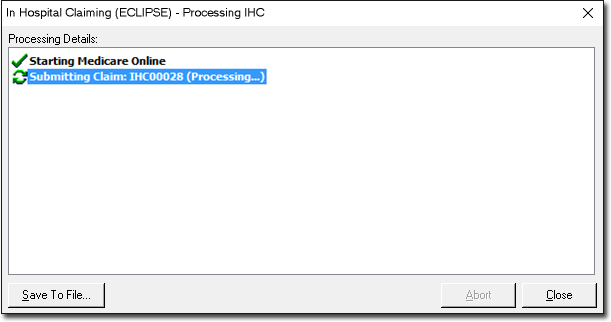
o No Claim Error: A Claim ID is generated.

2. Once the Claim ID is generated, click  at the bottom-right to continue the retrieval of processing and payment reports.
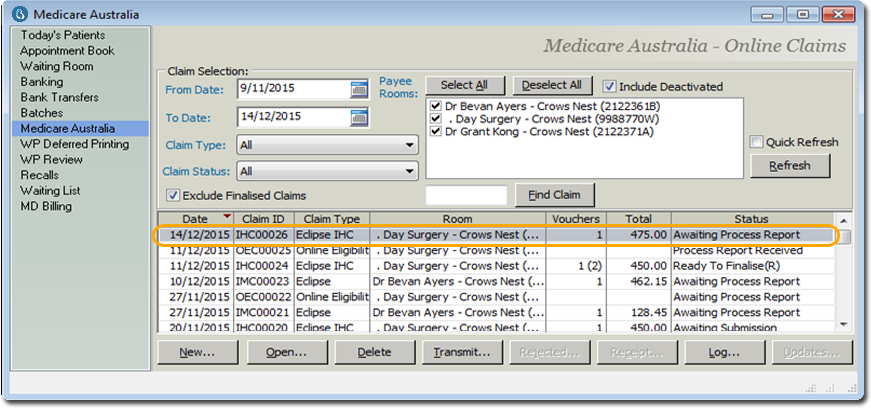
3. In the practice explorer window, select Medicare Australia from the margin-menu. The submitted claim appears at the top of the list, with a status of ‘Awaiting Process Report’.
4. Click ![]() to retrieve the processing report. When the processing report is being retrieved, the response sent by the fund can be rejected or interim or final report.
to retrieve the processing report. When the processing report is being retrieved, the response sent by the fund can be rejected or interim or final report.
o Rejected reports with a status of ‘Ready to Finalise(R)’:
If the claim is rejected when transmitting, the status changes to ‘Ready to Finalise(R)’.
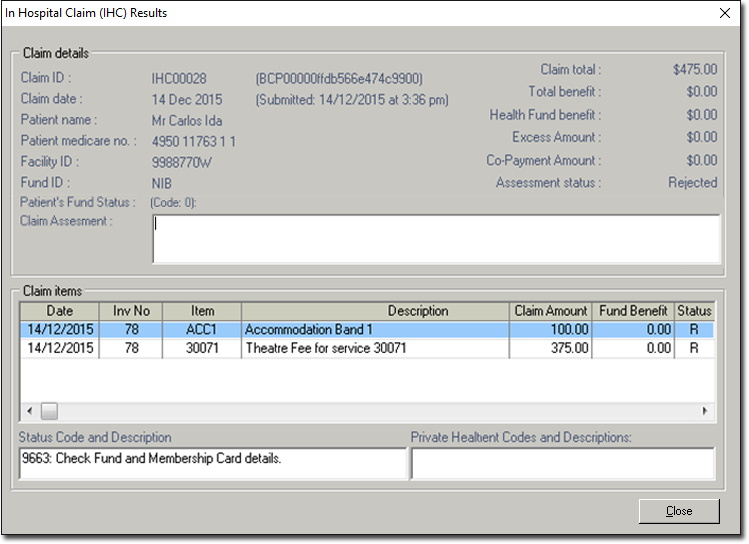
 The rejected claim can be viewed by double-clicking the claim. The In Hospital Claim (IHC) Results window appears. The results of processing such as rejection code and description can be viewed. Click
  to return to the ‘Medicare Australia’ window
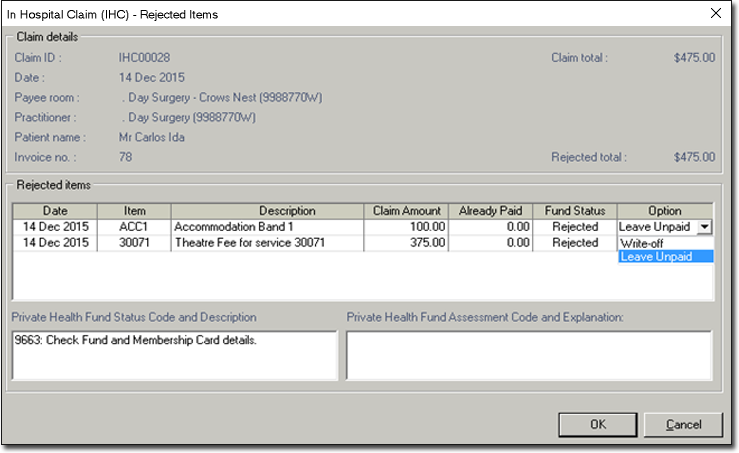
• In the ‘Medicare Australia’ window, click  to process the rejected claim. The In Hospital Claim (IHC) – Rejected Items window appears. Rejected Items can be left unpaid or written-off.
• Click  You will be prompted to confirm that you want to process the rejected claim.
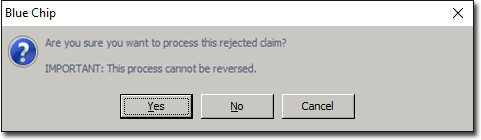
• Click  to the prompt to continue processing of the rejected claim. The rejected claim is now Finalised and status is changed to ‘Finalised (Rejected)’.

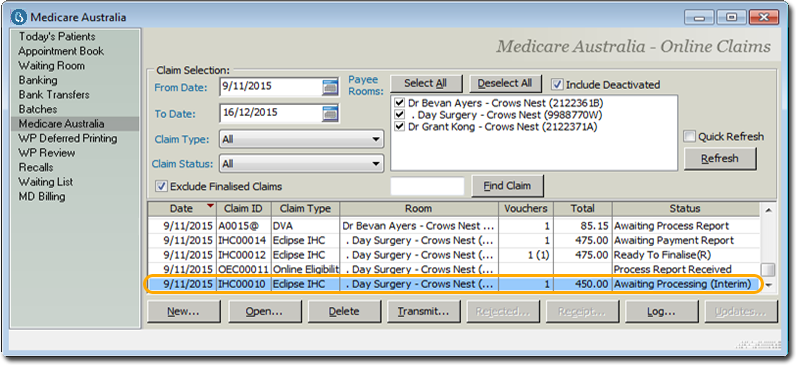
o Interim Processing Report with ‘Awaiting Process Report (Interim)’ status:
If the interim processing report is available after transmitting, the status changes to Awaiting Processing (Interim). The fund will transmit the interim report to inform the practice of the reason that processing of the claim is not yet complete. The fund will then transmit a final report (which will overwrite any interim reports) when processing has been completed for the claim. After the final processing report is retrieved, the payment report can be retrieved (see Step 5).
o Final Processing Report with ‘Awaiting Payment Report’ status:
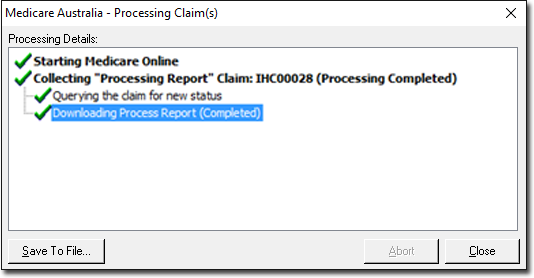
If the final processing report is available after transmitting, the Medicare Australia – Processing Claim(s) window appears, and the Final Processing Report is downloaded.
5. After the final processing report is retrieved, the status of the claim changes to ‘Awaiting Payment Report’ This claim can now be viewed by double-clicking the claim to see if the result (Accepted/Rejected) of the claim submitted. The processing report consists of invoice details, and Service Item details of the retrieved claims which assists the practice in troubleshooting.
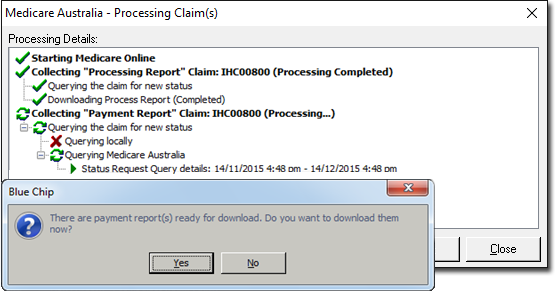
6. Click ![]() to download the payment report. The Medicare Australia – Processing Claim(s) window appears with the downloading messages. A prompt saying ’Payment report ready for download’ appears.
to download the payment report. The Medicare Australia – Processing Claim(s) window appears with the downloading messages. A prompt saying ’Payment report ready for download’ appears.
7. Click to download the payment report.
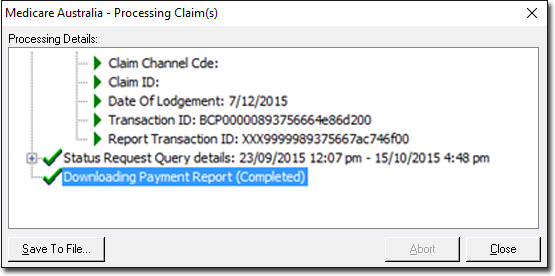
o Click  to save the downloaded Payment Report. The Payment Report will consist of the summary of health fund payments, which will help the practice reconcile payments with the bank statement. It also consists of additional payment details on the paid claim.
o Click  to return to the ‘Medicare Australia’ window.
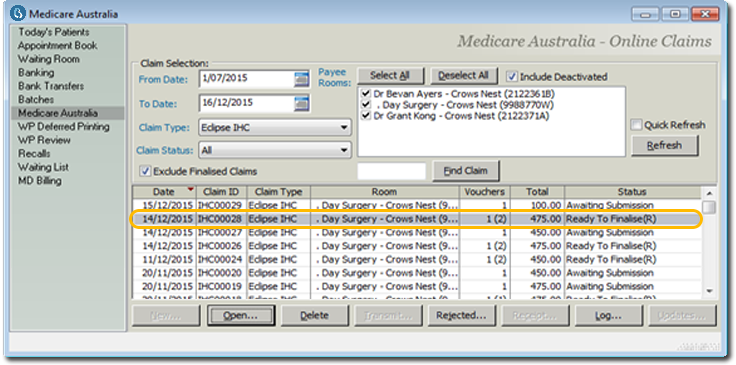
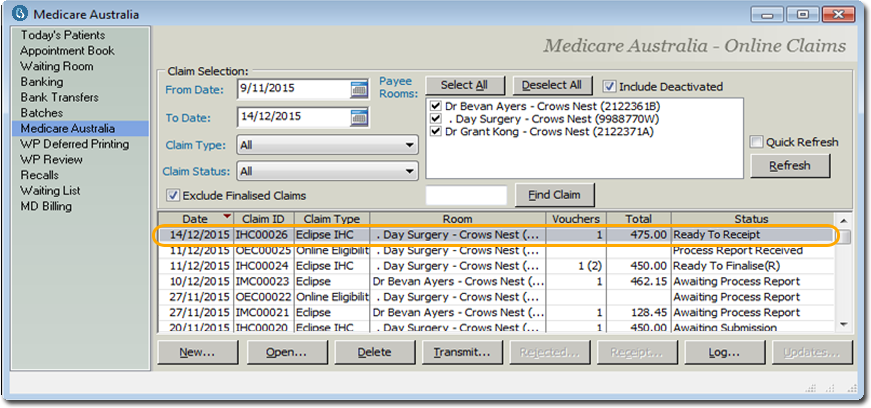
8. In the Medicare Australia window, the claim's status changes to ‘Ready to Receipt’.
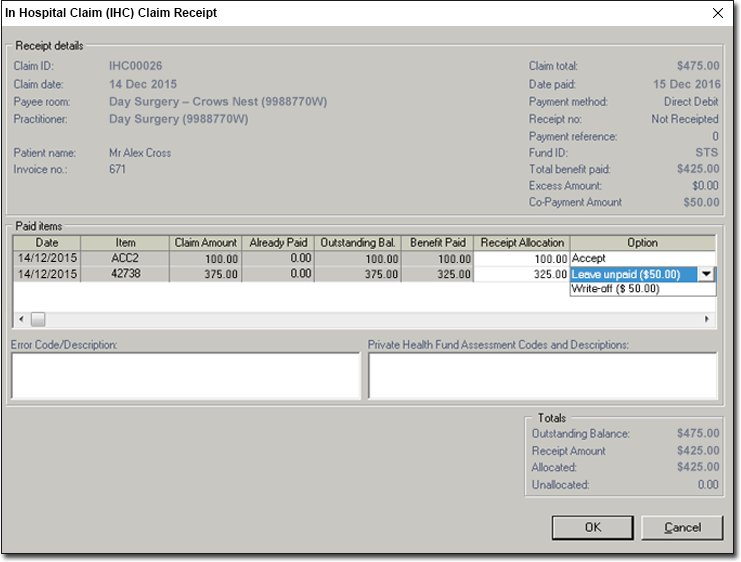
9. Click  The In Hospital Claim (IHC) Receipt window appears. This window gives you an opportunity to distribute the benefit paid to the Service Items in the Paid Items section.
o Example 1:
• In the example below, the Claim Total was $475.00, but the Total Benefit Paid was only $425.00.
• $100 is automatically allocated to item ACC2, to cover its claim amount of $100. Notice that the Option column reads 'Accept', to indicate that we will accept this allocation.
• The remaining $325 is allocated to item 42738. Note however, that the fee for this item is $375, which is $50 more than the benefit we have received. Therefore, we must also indicate what to do with the remaining co-payment amount of $50; we can either leave it unpaid, or write it off, as selected via the Option drop-down list.
o Example 2:
• In this example, we are claiming two prosthesis service items (PX00AL005 for $110. and PX00G007 for $698).
• Note that the health fund paid a benefit of $808 for the first prosthesis item, although its fee is $110. This is because, in this example, this particular health fund did pay a benefit to cover both prosthesis items, but allocated the payment to the first item only. If this happens, you must manually adjust the receipt allocation.

Using the example above, we would;
· Take note of the Outstanding Balance ($2012.00) and the Receipt Amount ($1, 762). The difference in these amounts needs to be dealt with.
· Take note of the Claim Amounts and Receipt Allocation values for the service items being claimed.
1 The first item is claimed at $948, and its receipt allocation is also $948. This item requires no adjustment.
2 The second item is claimed at $256, and its receipt allocation is also $256. Again, this item requires no adjustment.
3 The third item is claimed at $110, but its receipt allocation is $808. This value must be modified manually. Click within the Receipt Allocation field, and change the value to $110.
4 This leaves us with a paid benefit balance of $448. We allocate this to the last service item. Note that this service item's claim value was $698, not $448, and hence we have an excess $250. In our example, we have selected the option to Leave Unpaid. Alternative you could Write Off this value.

10. Click to confirm, and close the Receipt window. This button will not be available until the Outstanding Balance matches the Allocated value.