Overview
Information about each centre is managed in Centre Settings. From here you can add/edit centres, or clone one.
1. Locate
and click ![]() at the lower-left.
at the lower-left.
2. Select
the Settings option.
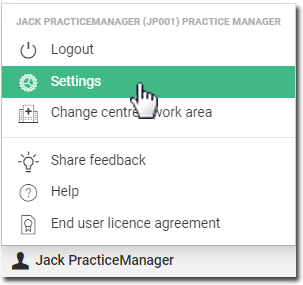
The Settings window appears.
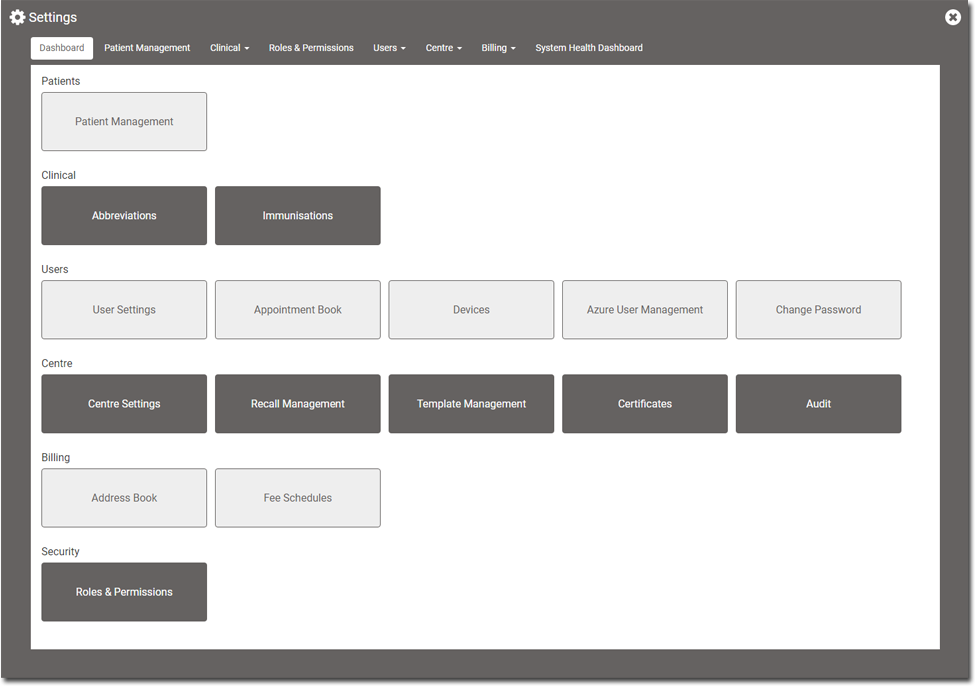
3. Within
the Centre section, click
 The Centre Management window
appears.
The Centre Management window
appears.
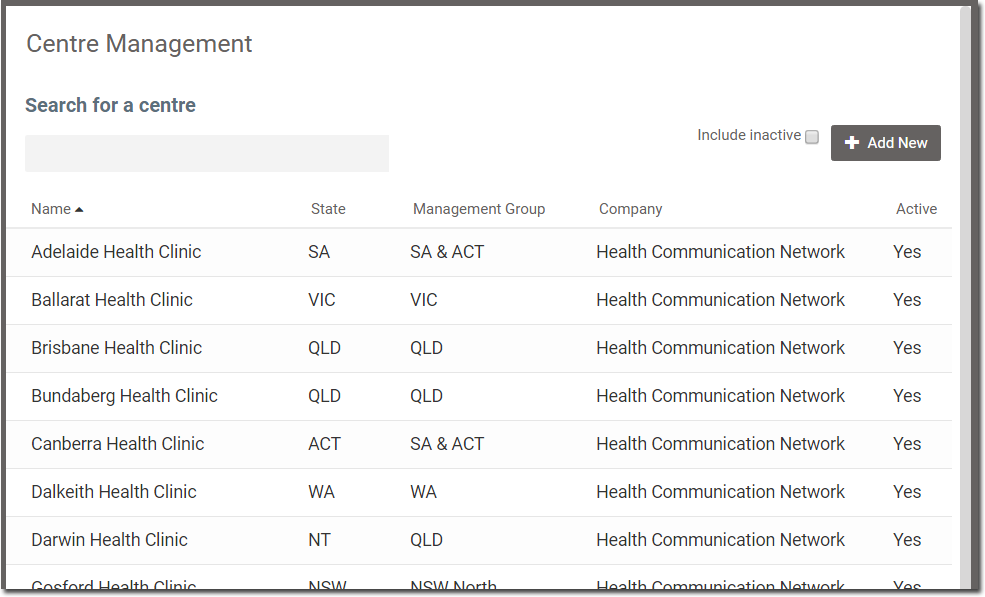
o Click on a column header to change the sort order.
o Search for a centre by entering its name in the search field. The list of matching results is generated dynamically.
o Inactive centres can be revealed by ticking the Include Inactive check box. Inactive centres are displayed at the bottom of the list.
Add a New Centre
1. Locate
and click ![]() at the lower-left.
at the lower-left.
2. Select
the Settings option.
The Settings window appears.
3. Within
the Centre section, click
The Centre Management window
appears.
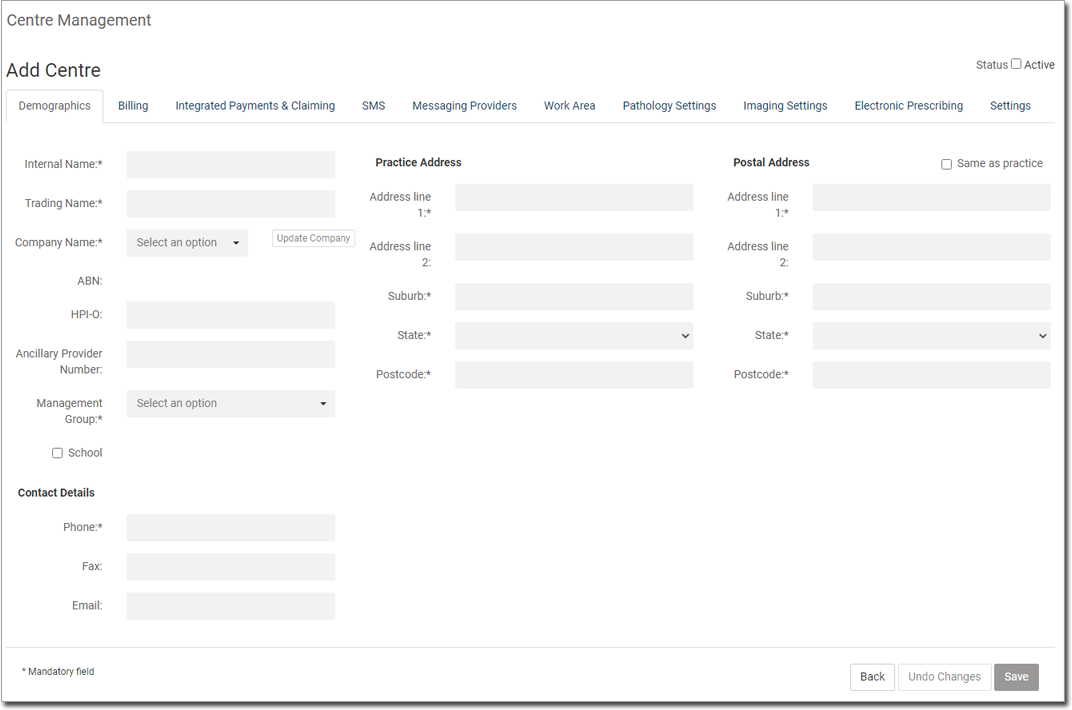
4. Click
 The Add
Centre window appears. This window consists of a number
of tabs of information for you to complete. The default tab is
Demographics, as shown
in the example below. Mandatory fields are marked with
The Add
Centre window appears. This window consists of a number
of tabs of information for you to complete. The default tab is
Demographics, as shown
in the example below. Mandatory fields are marked with  .
.
o In
the Demographics tab,
enter the Internal Name, Trading Name, Company Name, ABN, HPI-O, Management Group, and
the Practice's Address, Postal address, and Contact Details.
o In
the Work Area tab, click
 to add work areas for the
centre.
to add work areas for the
centre.
• A new tab is added for each work area.
• Select the Active checkbox to indicate an active work area.
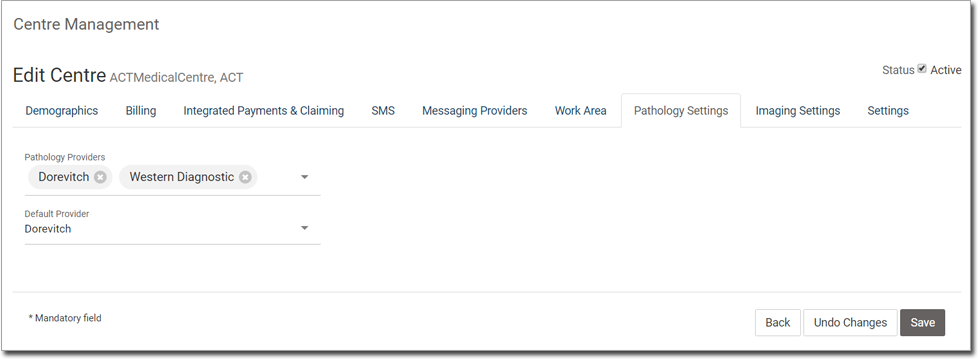
o In the Pathology Settings tab:
• Select the pathology labs you wish to use for Pathology Requests.
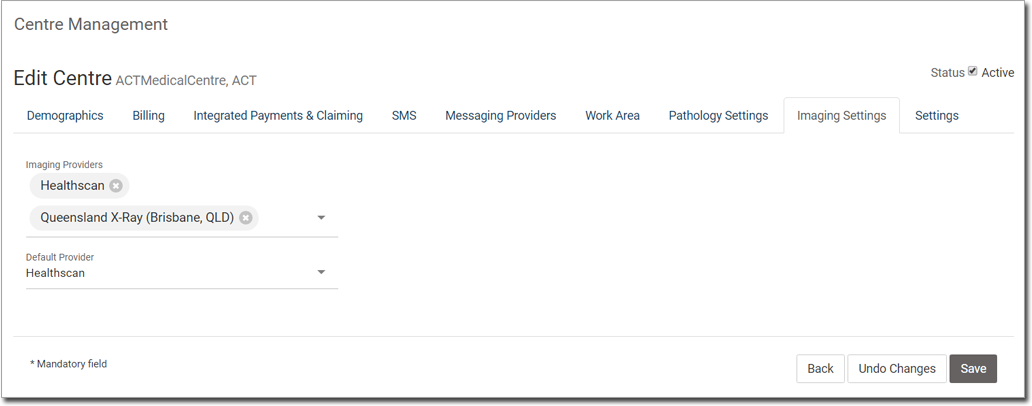
o In the Imaging Settings tab:
• Specify the imaging labs you wish to use for Radiology Imaging Requests.
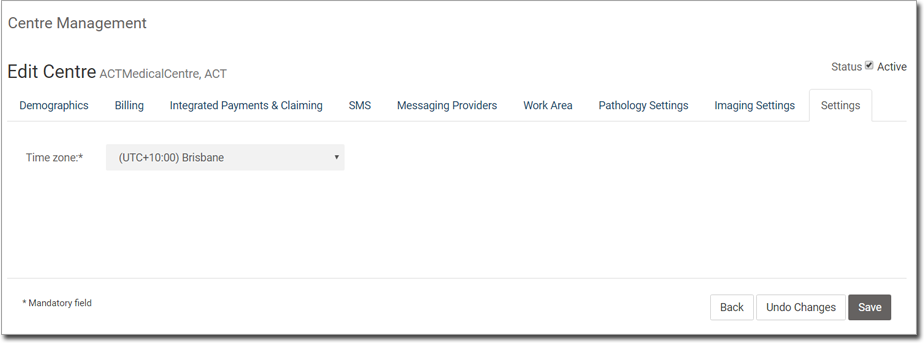
o In the Settings tab:
• Indicate
your time zone.
5. Click
 to save the new centre.

