Duplicate Patient Prevention
Helix will alert you to possible duplicate patient records when you attempt to create a new patient record, as shown in the example below.
However, if you discover you have inadvertently created a duplicate record, Helix provides a mechanism for linking the two records.
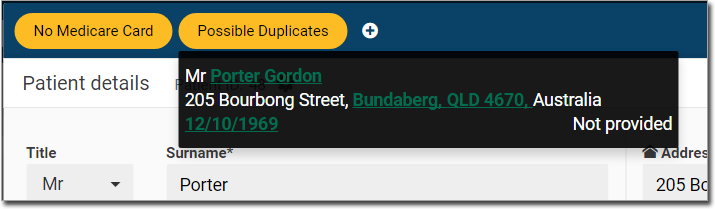
Once you have linked patient records (as explained below), an indicator appears at the top of their record to show that a linking has taken place. 
Click this green strip to reveal a menu of the patients that have been linked.
![]() Master record.
Master record.  Indicates that this is the active record.
![]() Duplicate record.
Duplicate record.

Managing Duplicate Records
Note that the following procedure can be performed only by non-clinical staff.
In our example, the patient changed their residential address, and informed the practice of this change. However, instead of simply updating the address in their record, a staff member in training has inadvertently added a second copy of the patient's record to the practice's database. We will locate and link his duplicate records.
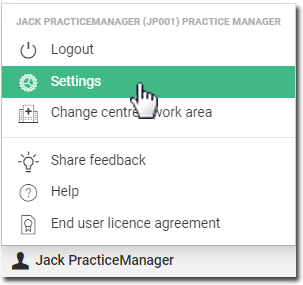
1. Locate and click ![]() at the lower-left.
at the lower-left.
2. Select the Settings option.
The Settings window appears.
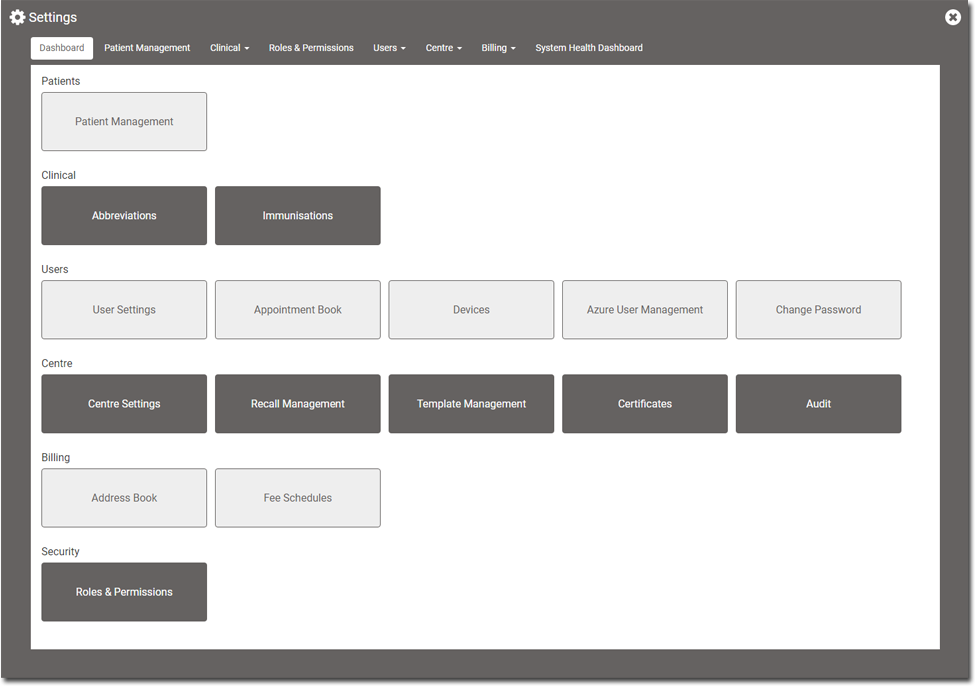
3. Within the Patients section, click  The Patient Management window appears.
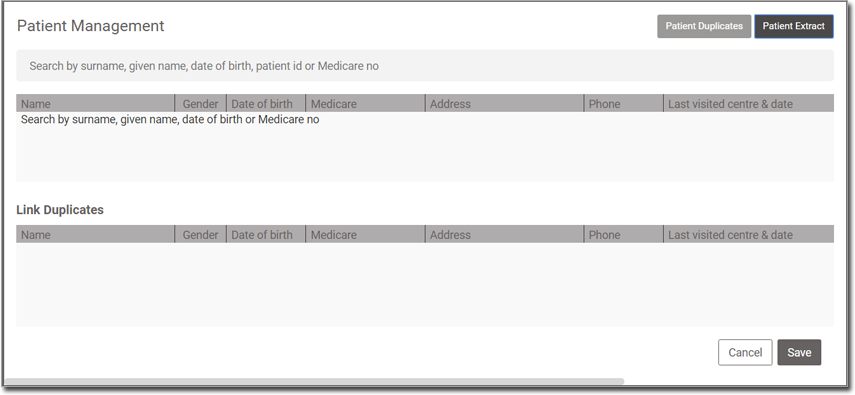
4. To locate possible duplicate records, enter either the patient's surname, given name, date of birth, patient ID, or Medicare number. A list of matching results is displayed.
o In our example, there are two matching records for 'porter', and we happen to know this is the only Gordon Porter in our database. However, there may have been more - you need to ascertain which records belong to the patient you are looking for. The matching date of birth and mobile phone numbers are confirmation that we have the correct records.
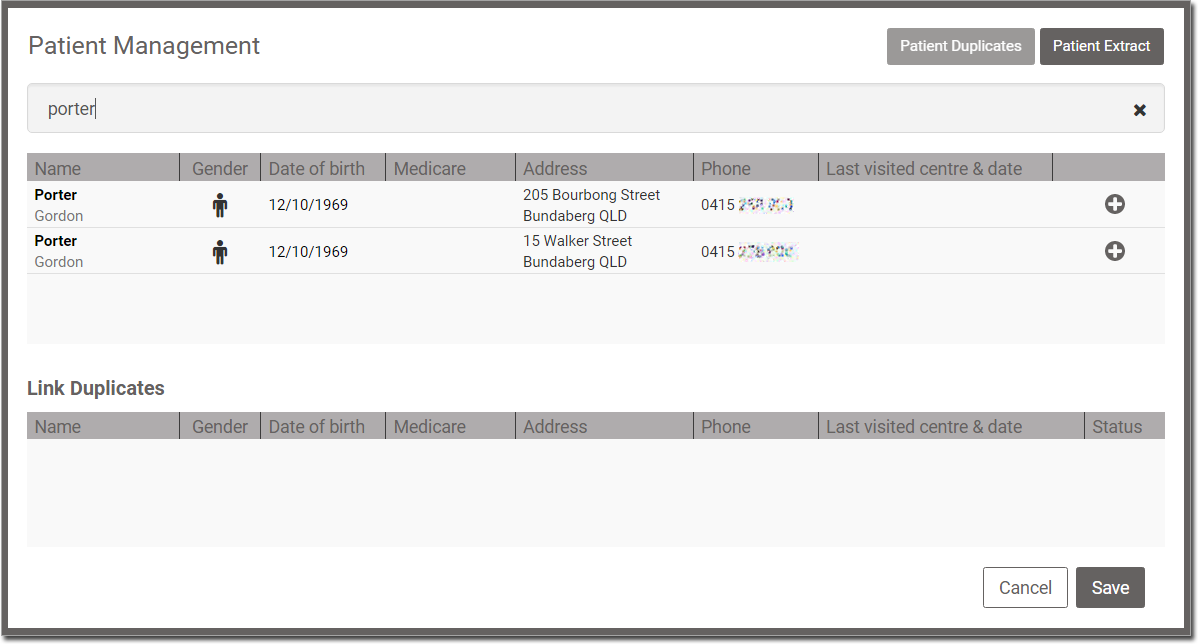
5. For each record you wish to link, locate and click  (as shown in the example above). The records will be moved into the Link Duplicates section (as shown below).

6. If necessary, specify which record should act as the Master record, as indicated in the Status column. The Master record is the record that all other records will be linked to.
o In our example, the Master record is currently the one indicating that Mr. Porter lives in Kepnock. This is correct, because Mr. Porter used to live in Bundaberg (as indicated by his other record), and has recently moved to Kepnock - it is this Kepnock record we want to keep, so it is correctly flagged as the Master record.
o If you need to specify that a different record should be the Master record, click  associated with it.
7. Once you are confident you have all the duplicates you wish to link, and you have indicated which of them should act as the Master record, click  to link the records.
Extracting Patient Records
1. Locate and click ![]() at the lower-left.
at the lower-left.
2. Select the Settings option.
The Settings window appears.
3. Within the Patients section, click The Patient Management window appears.
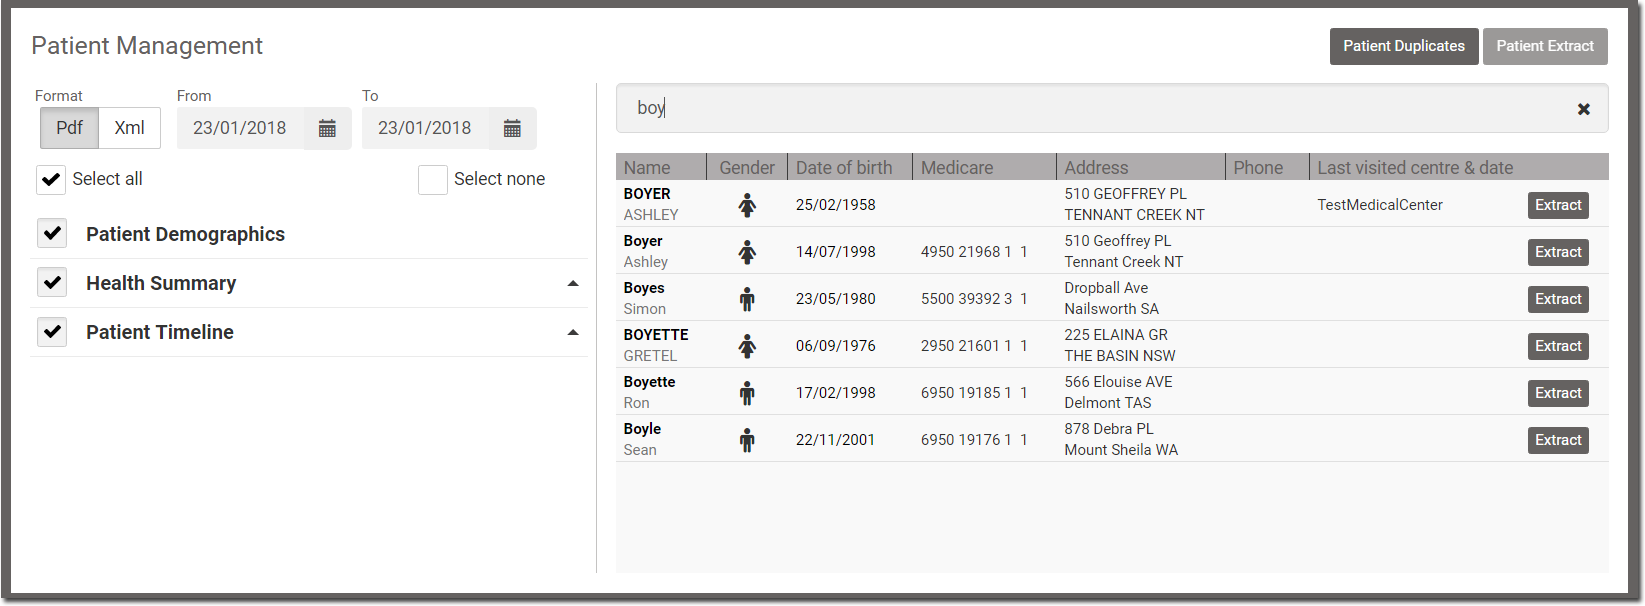
4. Click  to access the Patient Extract utility.
o Search for the patient(s), by name.
o Indicate the format for the extract (PDF or XML).
o Indicate the time-frame you wish to cover (From and To dates).
o Indicate the scope of data you wish to cover (e.g. Demographics, Health Summary etc).
o When you are ready to proceed, click the patient's corresponding  button.